Crow pose was the first pose I was excited to land. Being able to balance your weight on just your hands builds tremendous confidence on and off the mat. For anyone who has tried crow pose in class, it can be pretty intimidating and physically challenging. It requires shoulder strength, a strong core and courage to get upside-down.
Five Poses to Help Rock Crow Pose
by Paul Giese
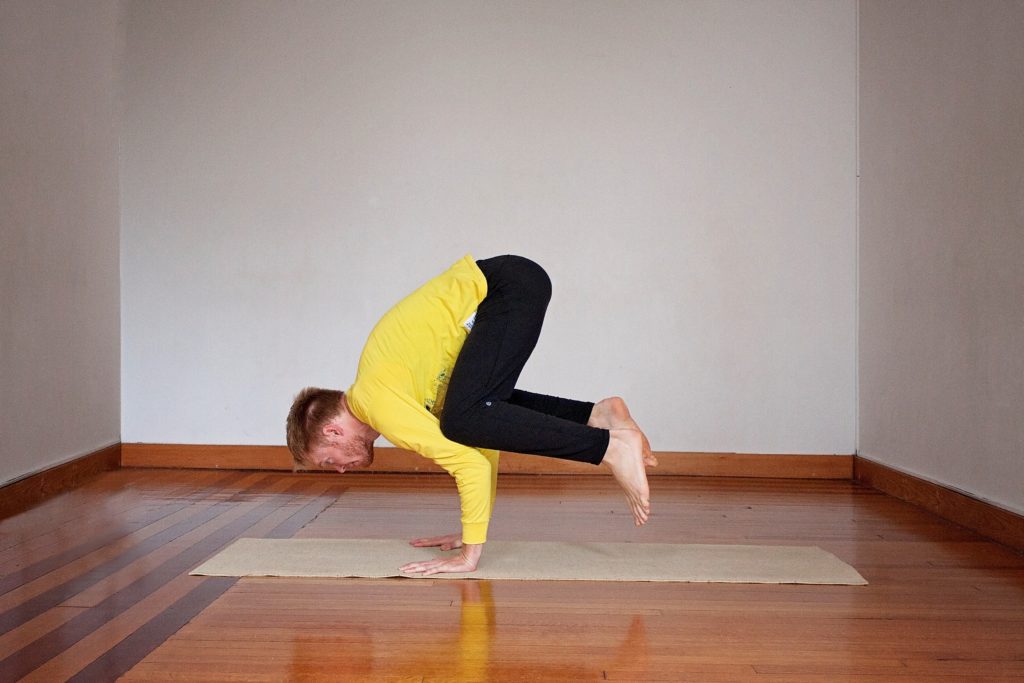
How to build up that strength and courage? Practice, practice, practice. Here are five poses to start incorporating into your yoga practice:
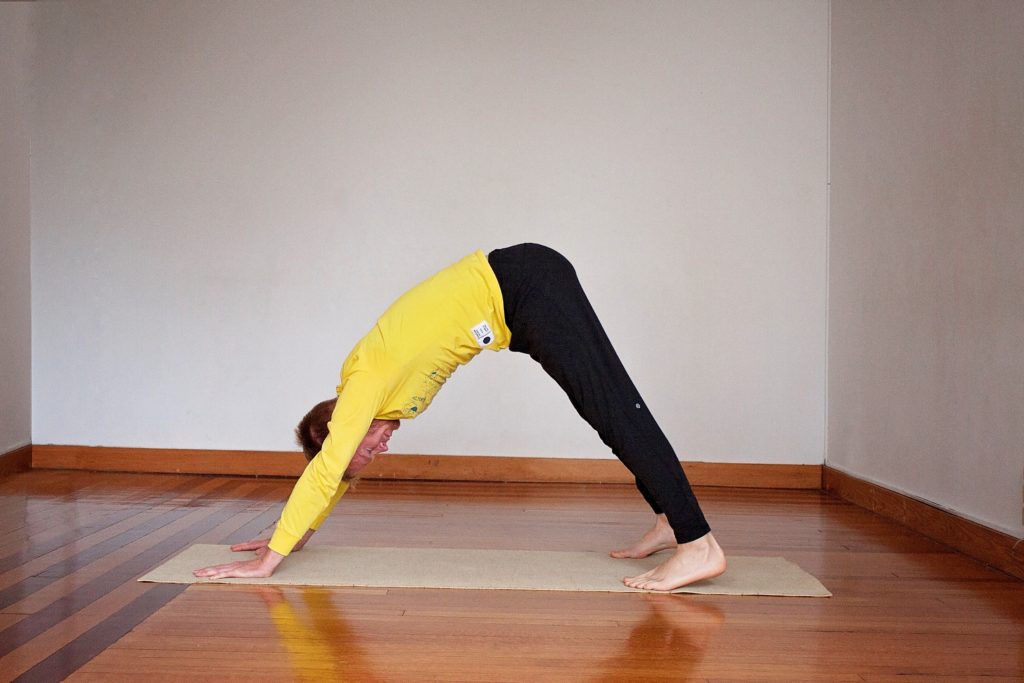
Downward facing dog – downward facing dog is a common but challenging pose that will build shoulder and core strength. Down dog is also technically an inversion (even though it isn’t as flashy as a handstand), since your heart is above your head. Imagine you are an upside-down V, with your hips being the point. Start with hands at shoulder-width distance and your feet at hips-width distance or slightly wider. You can hold the pose in stillness or add subtle movements, such as bending in one knee and then the other, or shifting your heels towards the right then to the left.
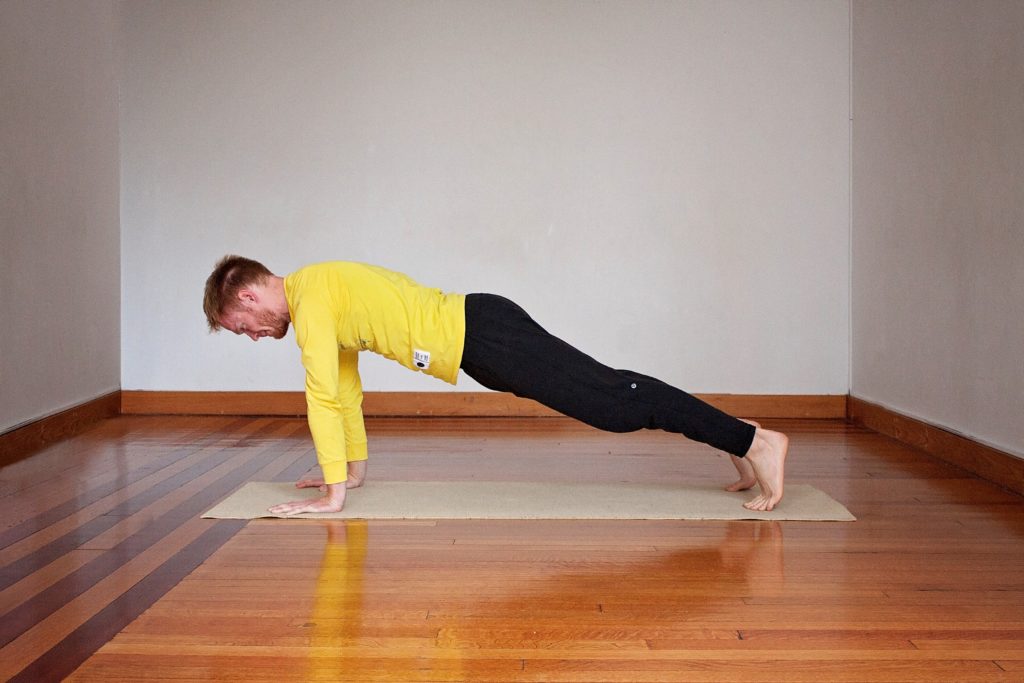
Plank – if you have ever tried holding plank for a minute, you know it requires tremendous shoulder strength. But you can also engage your core in this pose as well. From downward facing dog, float your shoulder directly above your wrists. Press into your fingers and lift from the shoulders. Rotate the elbow crease (the inside of your bicep) toward the front of the room. Finally, imagine a magnet pull bringing the wrists and feet toward the center of the body. These subtle movements will make the pose more challenging but will bring extra strength.
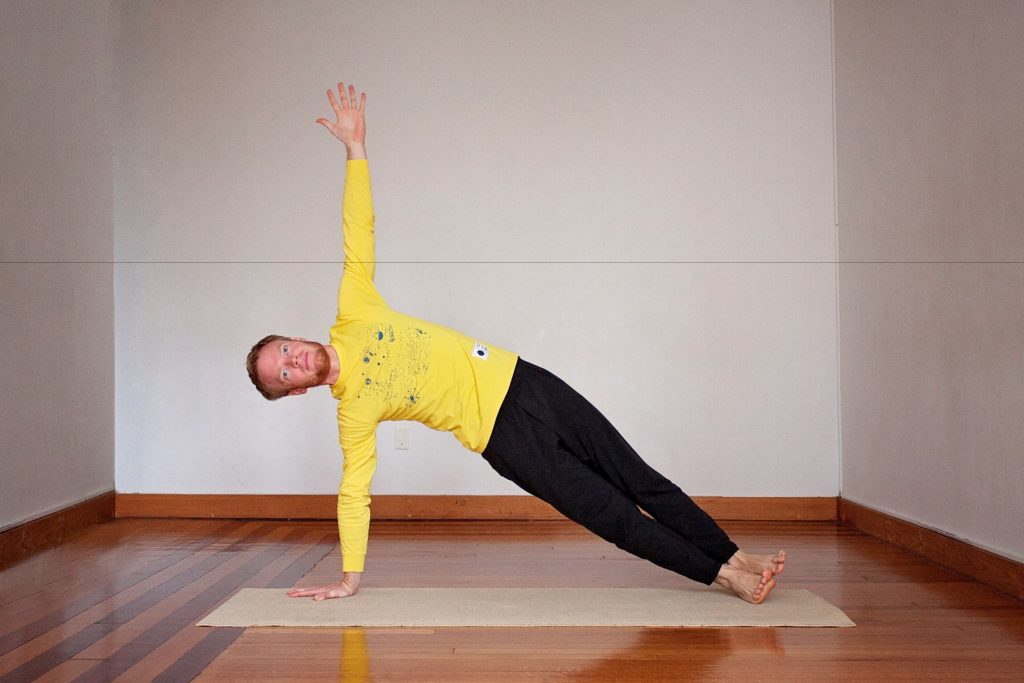
Side Plank – side plank is a modification of plank pose, except on the side. This pose builds wrist, core and hip strength. Starting from plank, rotate onto your right hand and lift the left hand to the sky, bringing your shoulders in line. Rotate onto the right side of the right foot. Using your core, lift your hips as high as you can. To ease the pose, lower the knee to the mat. To make the pose more challenging, lift the left leg so it is parallel to the mat or place the left foot on the right shin or thigh, avoiding the knee.
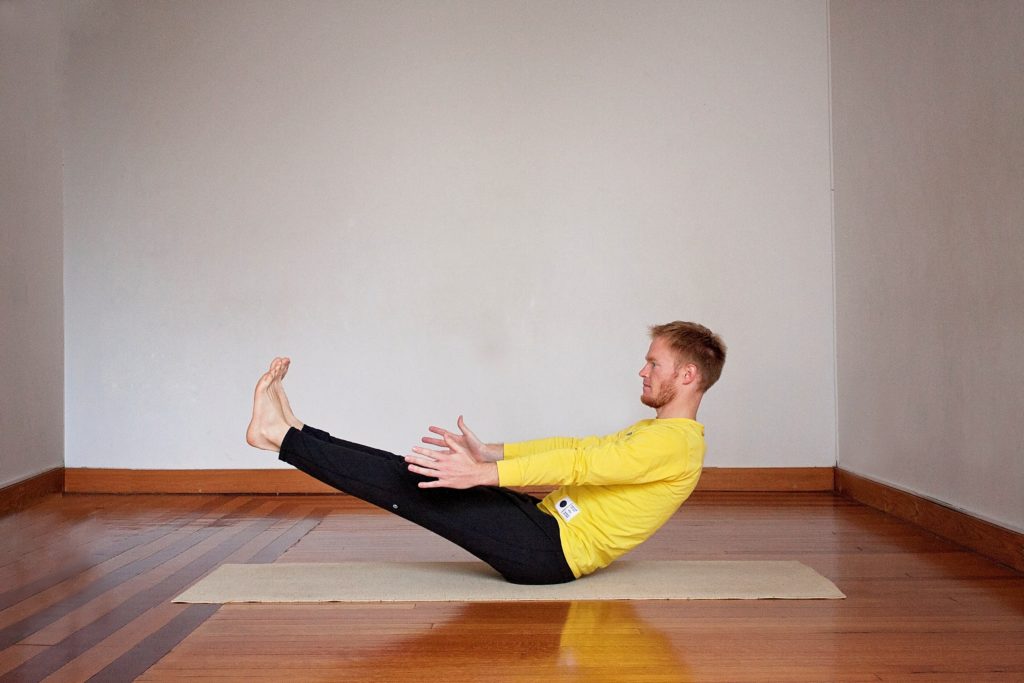
Boat pose – this pose will improve balance and build core strength. Starting from a seat with your feet forward on the mat, lift your legs about two feet off the mat and lean back slightly, as if you were a boat. Once you have found balance, lift your hands off the mat and bring them forward with the palms facing each other. Hold for 30 to 45 seconds.
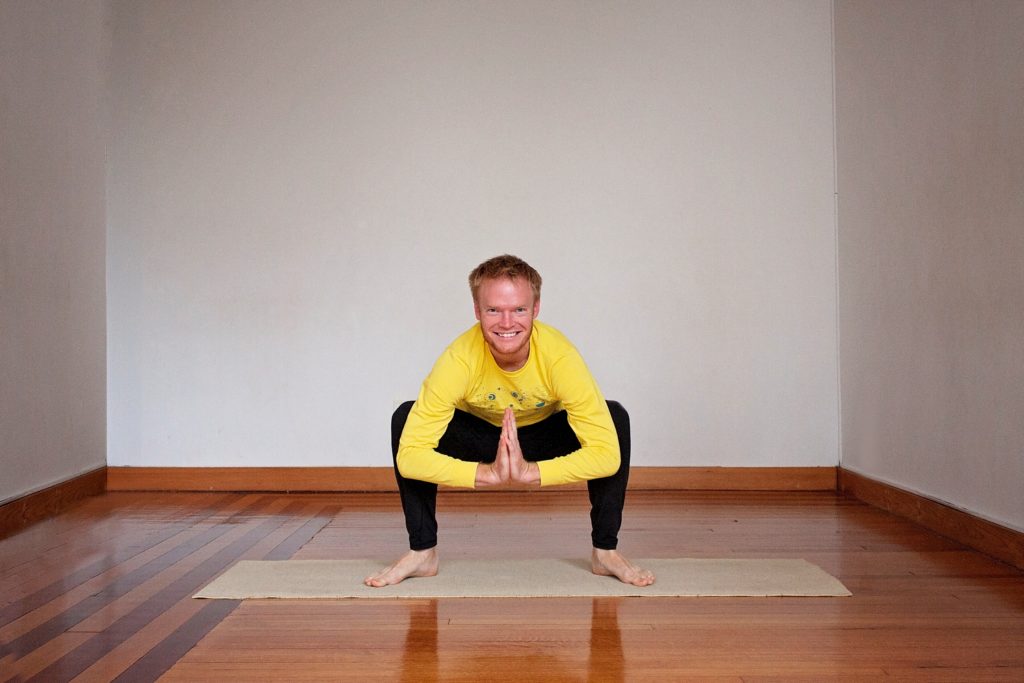
Squat pose – squats build leg strength and opens the hips. Starting from mountain pose, bring your toes out towards the edge of the mat with your heels turned in. Bend into the knees, coming into a squatting position with the knees pointing out. Place your elbows on the inside of your knees and bring your hands to a prayer position. Hold here, breathing deeply. Place a block under your tail bone for additional support.
Once you have worked on these poses, you should have built the necessary strength and confidence to land a crow pose!
To start with crow pose, begin in a forward fold. Place your hands at shoulders-width distance on the mat, about a foot in front of your feet. Bend your elbows straight back and place your knees as high on your triceps as possible. Hold here. If you are comfortable, use your core to begin to lift your hips forward and bring one foot or both feet off the mat. Keep your gaze forward, not looking back toward the feet. If you have made it this far, be proud! You did it! Crow pose!
A few tips. First, if you aren’t comfortable falling, place a blanket in front of you. This will soften a potential fall forward. Sometimes falling once is the best thing that can happen! Similar to life, if you fall over, it will be scary at first, but after the initial pain you will realize it isn’t that bad and it will give you confidence to keep practicing and trying. Another great option is placing blocks under your feet for extra elevation. This will help get the knees up on the triceps.
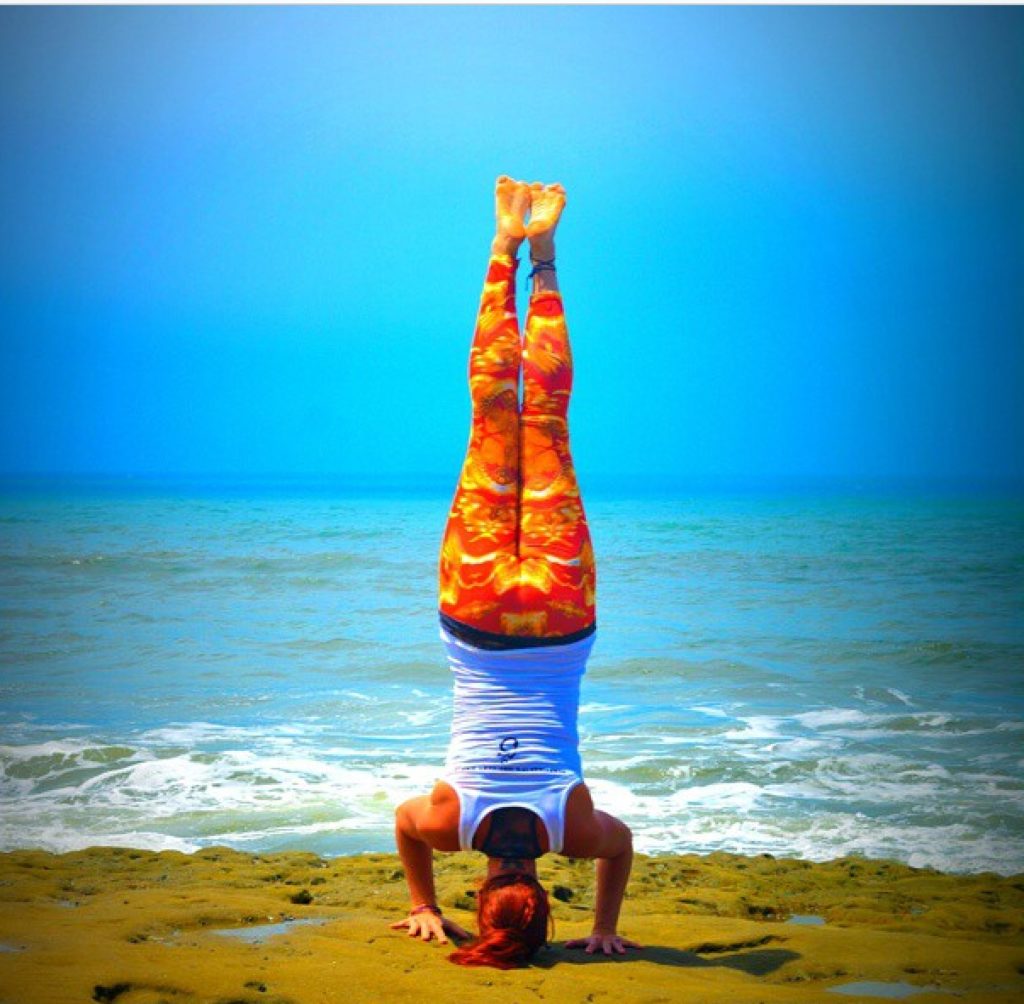
As with everything in life, practice makes perfect. Don’t be hard on yourself if you don’t get it right away. Set small goals and try and practice a few of these poses for 10 – 15 minutes a day. Keep at it and celebrate the small improvements. Photographing yourself is a great way to watch your own progress. Eventually, you will find yourself comfortably and confidently rocking crow pose in class. You will be ready for the next challenge, either tripod headstand or one-legged crow pose! That is the beauty of the yoga practice. It is a practice. Enjoy the journey and the challenge.
As with any exercise program you must know yourself and understand your own health before attempting.
Ever tried Crow Pose? How did you get there?
Connect with Paul at PaulGieseYoga.com
Photo Credits:
Feature Image: Crow Pose on Rocks by Aimee-Linh
Tripod Headstand by Christi Silbaugh
All Other Images: Paul Giese by Sabrina Brooks


This was an extremely nice post. very informative. Crow pose isn’t as easy as it looks. Taking a few minutes to appreciate this article.